





Product Description⌄
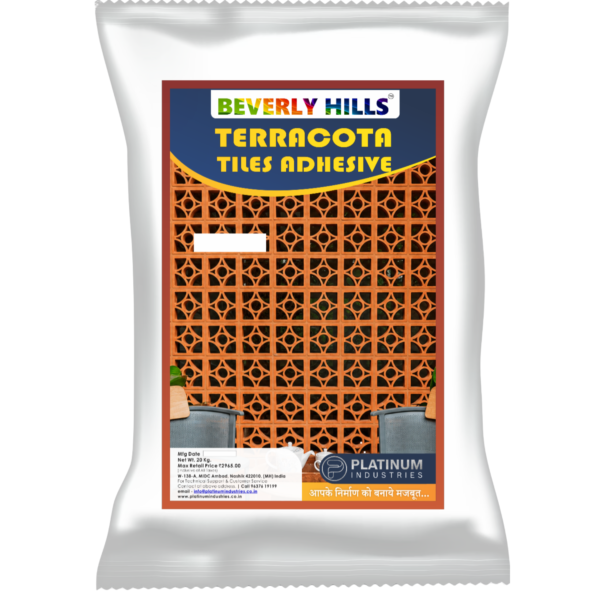
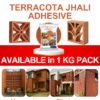
TERRACOTTA TILE ADHESIVE
EN 12004 Classification: C2TES1
At a Glance
| Feature | Details |
| Ideal For | Terracotta, Clay & Brick Slip Tiles |
| Maximum Tile Size | Medium to Large Rustic Tiles* |
| Tile Types | Terracotta, Clay Tiles, Quarry Tiles, Brick Slips, Handmade Tiles |
| Suitable Surfaces | Cement Plaster, Concrete, RCC, Screeds & Masonry |
| Wall Applications | ✔ Yes |
| Floor Applications | ✔ Yes |
| Interior | ✔ Yes |
| Exterior | ✔ Yes |
| EN Classification | C2TE |
| Bond Strength | High Performance |
| Ready Mix | Just Add Water |
*Subject to tile weight and substrate condition.
Product Selection Guide
Choose Terracotta Tile Adhesive when:
- Installing terracotta, handmade clay tiles, quarry tiles, brick slips, or natural clay pavers.
- Creating rustic, heritage, Mediterranean, or traditional architectural finishes.
- Fixing clay-based tiles on walls, floors, façades, patios, or landscaped areas.
- A polymer-modified adhesive specifically suited to porous clay materials is required.
For large-format porcelain slabs or heavy natural stone, choose Column. For flexible substrates, choose Flex. For swimming pools and permanently submerged applications, choose Marine.
Designed for Natural Clay & Rustic Finishes
Terracotta and clay tiles are valued for their timeless beauty, earthy appearance, and natural texture. Unlike vitrified or porcelain tiles, they are more porous and absorb water differently, requiring an adhesive specifically formulated to provide reliable bonding without compromising durability.
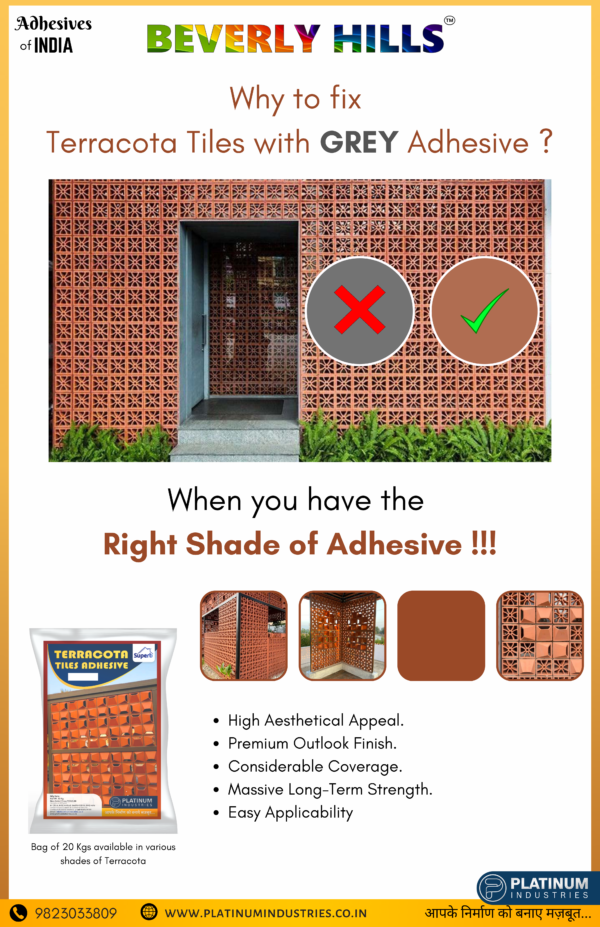
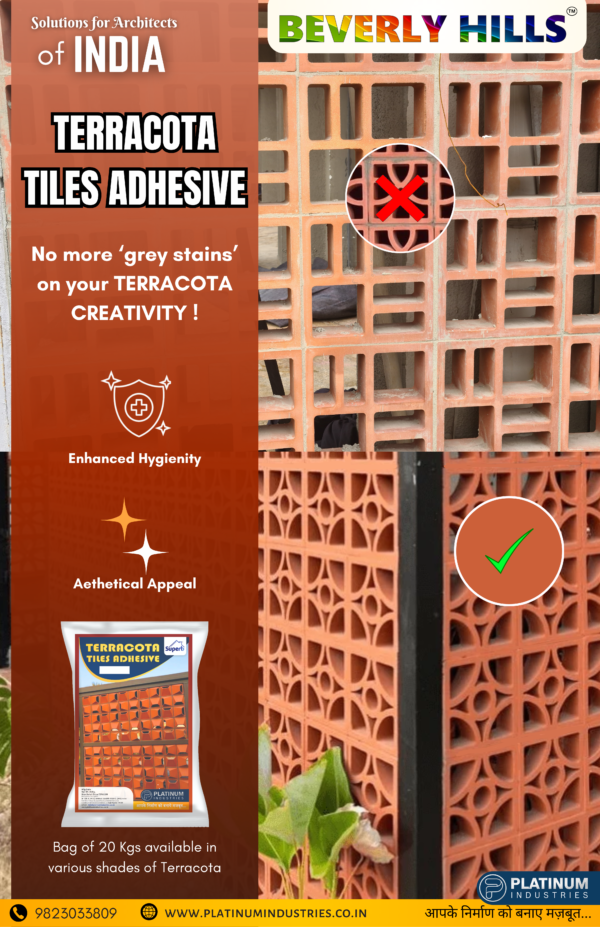
Beverly Hills Terracotta Tile Adhesive is a premium polymer-modified cementitious adhesive developed for fixing terracotta, clay, quarry tiles, brick slips, and other porous natural materials on walls and floors. It provides excellent adhesion, extended open time, reduced slip, and dependable performance for both interior and exterior installations.
Whether creating rustic homes, heritage buildings, courtyards, façades, or landscape features, Terracotta ensures long-lasting and aesthetically pleasing installations.
Best Suited For
Residential Applications
- Rustic Villas
- Farmhouses
- Courtyards
- Verandas
- Patios
- Balconies
- Feature Walls
- Outdoor Seating Areas
- Traditional Kitchens
- Garden Pathways
Commercial Applications
- Heritage Hotels
- Resorts
- Cafés
- Restaurants
- Boutique Stores
- Landscape Projects
- Museums
- Heritage Restoration Projects
- Theme Parks
- Commercial Façades
Suitable Tile Types
✔ Terracotta Tiles
✔ Handmade Clay Tiles
✔ Quarry Tiles
✔ Brick Slips
✔ Brick Veneers
✔ Rustic Ceramic Tiles
✔ Natural Clay Pavers
✔ Traditional Fired Clay Tiles
Suitable Substrates
- Cement Plaster
- Concrete
- RCC
- Cement Screeds
- Masonry Walls
- Brickwork
- Blockwork
- Cement Boards (where suitable)
Where This Product Excels
Terracotta Tile Adhesive is ideal for installations involving:
- High-absorption clay tiles
- Rustic architectural finishes
- Heritage restoration
- Exposed brick aesthetics
- Indoor and outdoor decorative walls
- Landscape hardscaping
- Traditional flooring applications
Why Choose Terracotta Tile Adhesive?
- Specifically formulated for porous clay-based materials.
- Superior adhesion to terracotta and quarry tiles.
- Polymer-modified formulation improves durability.
- Extended open time allows better positioning of irregular handmade tiles.
- Reduced slip for wall installations.
- Suitable for interior and exterior applications.
- Weather-resistant performance.
- Helps achieve durable installations for traditional and rustic finishes.
Understanding EN 12004 – C2TE
C = Cementitious Adhesive
2 = Improved Bond Strength
T = Reduced Slip
E = Extended Open Time
C2TE adhesives provide higher adhesion than standard tile adhesives while allowing installers additional working time—particularly useful when laying handmade terracotta or irregular clay tiles that require careful alignment.
Technical Specifications
| Property | Typical Value |
| EN Classification | C2TE |
| Colour | Grey |
| Base Material | Polymer Modified Cementitious Adhesive |
| Mixing Water | 24–26% |
| Pot Life | 3–4 Hours |
| Open Time | ≥30 Minutes |
| Adjustment Time | 20–30 Minutes |
| Slip | ≤0.5 mm |
| Tensile Adhesion (Dry) | ≥1.0 MPa |
| Tensile Adhesion After Water Immersion | ≥1.0 MPa |
| Tensile Adhesion After Heat Ageing | ≥1.0 MPa |
| Service Temperature | -20°C to +70°C |
| Light Foot Traffic | 24 Hours |
| Grouting | 24 Hours |
| Packaging | 20 kg Bag |
| Shelf Life | 12 Months |
Approximate Coverage
| Notched Trowel | Coverage (20 kg Bag) |
| 6 × 6 mm | 45–55 sq.ft. |
| 8 × 8 mm | 35–45 sq.ft. |
| 10 × 10 mm | 28–35 sq.ft. |
Coverage varies depending on tile thickness, substrate condition, and installation method.
Mixing Instructions
- Add approximately 5.0–5.2 litres of clean water to one 20 kg bag.
- Mix using a slow-speed mechanical mixer until a smooth, lump-free consistency is achieved.
- Allow the mix to stand for 3–5 minutes, then remix before application.
- Do not add additional water after the adhesive has begun to set.
Application Procedure
Step 1 – Surface Preparation
Ensure the substrate is clean, dry, level, and structurally sound. Remove dust, grease, paint, loose particles, and curing compounds before installation.
Step 2 – Tile Preparation
Because terracotta and clay tiles are naturally porous, always follow the tile manufacturer’s recommendations regarding pre-wetting or conditioning before installation. Some handmade terracotta products may require dampening, while others are designed to be installed dry.
Step 3 – Adhesive Application
Apply the adhesive evenly using an appropriate notched trowel. For thicker handmade tiles or exterior installations, back-buttering is recommended to achieve maximum contact.
Step 4 – Tile Installation
Press each tile firmly into the adhesive using a slight sliding motion. Maintain uniform joint spacing and check alignment regularly, particularly when installing handmade or irregularly sized tiles.
Step 5 – Grouting
Allow the adhesive to cure fully before grouting. Use a grout suitable for the intended application and exposure conditions.
Best Practices
✓ Check the manufacturer’s recommendations for tile pre-conditioning.
✓ Back-butter thick terracotta and brick slip tiles.
✓ Maintain consistent grout joints to accommodate dimensional variations in handmade products.
✓ Seal terracotta surfaces after installation where recommended to help protect against staining and moisture absorption.
✓ Follow appropriate curing times before opening the area to service.
Avoid These Mistakes
✗ Installing over weak or dusty substrates.
✗ Ignoring the tile manufacturer’s instructions regarding moisture conditioning.
✗ Leaving voids beneath thick terracotta or brick slips.
✗ Walking on freshly installed tiles before adequate curing.
✗ Using standard ceramic tile adhesive for demanding exterior clay tile applications.
💡 Pro Tip
Terracotta is a natural, porous material, and different manufacturers may have different installation requirements. Always check whether the tiles need pre-conditioning (such as dampening or sealing) before installation, and seal the finished surface if recommended. Proper preparation helps prevent staining, uneven moisture absorption, and long-term maintenance issues.

Reviews
There are no reviews yet.