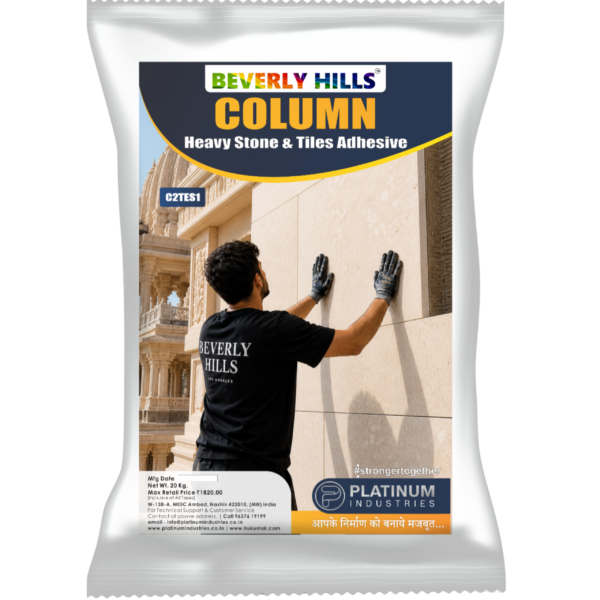

T4 – COLUMN HEAVY-DUTY STONE & SLAB ADHESIVE
EN 12004 Classification: C2TES1
At a Glance
| Feature | Details |
| Ideal For | Heavy Stone, Large Slabs & Architectural Cladding |
| Maximum Tile Size | Up to 1200 × 2400 mm |
| Tile Types | Porcelain Slabs, Large Vitrified Tiles, Granite & Natural Stone |
| Suitable Surfaces | Concrete, Cement Plaster, RCC, Screeds & Existing Tiles* |
| Wall Height | High-Rise & Tall Interior Walls* |
| Floor Applications | Heavy-Duty Residential & Commercial |
| Interior | ✔ Yes |
| Exterior | ✔ Yes |
| EN Classification | C2TES1 |
| Bond Strength | High Performance (≥1.5 MPa Typical) |
| Flexibility | S1 Deformable |
| Ready Mix | Just Add Water |
*Installation should always comply with project specifications, applicable codes, and, where required, use suitable mechanical fixing systems.
Product Selection Guide
Choose Column Heavy-Duty Stone & Slab Adhesive when:
- Installing porcelain slabs up to 1200 × 2400 mm.
- Fixing granite, marble, engineered stone, or large vitrified tiles.
- Working on luxury homes, commercial buildings, hotels, airports, malls, or institutional projects.
- High bond strength and dependable long-term performance are essential.
- Installing heavy wall cladding or premium flooring systems.
For flexible substrates such as plywood, gypsum board, or fibre cement board, use T5 Flex. For swimming pools, fountains, water tanks, and permanently submerged installations, use T7 Marine.
Engineered for Heavy-Duty Architectural Installations
Beverly Hills Column is a premium high-performance polymer-modified cementitious adhesive engineered for fixing heavy vitrified tiles, porcelain slabs, granite, marble, engineered stone, and other large-format architectural finishes.
As tile and slab sizes continue to increase, their weight places greater stress on the adhesive layer. Column delivers superior bond strength, extended working time, reduced slip, and controlled flexibility to provide dependable performance in demanding residential, commercial, and institutional projects.
Whether you’re installing luxury flooring, feature walls, hotel lobbies, shopping malls, corporate offices, or architectural stone cladding, Column provides the confidence required for heavy-duty installations.
Best Suited For
Premium Residential Projects
- Luxury Villas
- Premium Apartments
- Double-Height Living Rooms
- Designer Staircases
- Feature Walls
- Premium Bathrooms
- Imported Tile Installations
- Luxury Kitchens
- Terrace Areas
- Outdoor Entertainment Spaces
Commercial & Institutional Projects
- Hotels
- Airports
- Shopping Malls
- Hospitals
- Metro Stations
- Corporate Offices
- Educational Campuses
- Convention Centres
- Luxury Retail Stores
- Commercial Building Lobbies
Suitable Tile Types
✔ Large Porcelain Slabs
✔ Large Vitrified Tiles
✔ Full Body Vitrified Tiles
✔ Double Charge Vitrified Tiles
✔ Granite
✔ Marble
✔ Quartz Stone
✔ Engineered Stone
✔ Natural Stone
Maximum Recommended Tile Size
Up to 1200 × 2400 mm
Suitable Substrates
Suitable over:
- Cement Plaster
- RCC
- Concrete
- Cement Screeds
- Existing Ceramic Tiles*
- Existing Vitrified Tiles*
- Cement Boards
*Only where the existing installation is sound, clean, and securely bonded.
Where This Product Should NOT Be Used
Not recommended for:
- Flexible Wooden Floors
- Plywood
- Gypsum Boards
- Fiber Cement Boards
- Metal Surfaces
- Permanently Submerged Installations (Use T7 Marine)
- Highly Deformable Substrates (Use T5 Flex)
Why Choose Column?
- Engineered for heavy stone and porcelain slab installations.
- Superior bond strength for demanding architectural applications.
- S1 flexibility helps accommodate normal thermal and structural movement.
- Extended open time simplifies installation of large and heavy panels.
- Reduced slip for secure vertical installations.
- Suitable for both interior and exterior projects.
- Excellent adhesion on premium construction substrates.
- Delivers long-term performance under heavy service conditions.
- Ideal for luxury residential and commercial developments.
Understanding EN 12004 – C2TES1
C = Cementitious Tile Adhesive
2 = Improved Bond Strength (≥1.0 MPa)
T = Reduced Slip for wall installations.
E = Extended Open Time for easier installation and adjustment of large, heavy tiles.
S1 = Deformable adhesive capable of accommodating limited movement caused by thermal expansion and normal structural deflection.
This classification is recommended for demanding tile and stone installations where high bond strength, flexibility, and longer working time are essential.
Technical Specifications
| Property | Typical Value |
| EN Classification | C2TES1 |
| Colour | Grey |
| Base Material | High Polymer Modified Cementitious Adhesive |
| Mixing Water | 24–26% |
| Pot Life | 3–4 Hours |
| Open Time | ≥30 Minutes |
| Adjustment Time | 30 Minutes |
| Slip | ≤0.5 mm |
| Tensile Adhesion (Dry) | ≥1.8 MPa |
| Tensile Adhesion After Water Immersion | ≥1.2 MPa |
| Tensile Adhesion After Heat Ageing | ≥1.2 MPa |
| Tensile Adhesion After Freeze-Thaw | ≥1.2 MPa |
| Deformability | S1 (2.5–5 mm) |
| Service Temperature | -30°C to +80°C |
| Foot Traffic | After 24 Hours |
| Grouting | 24 Hours (Walls), 24–48 Hours (Floors) |
| Full Cure | 14 Days |
| Packaging | 20 kg Bag |
| Shelf Life | 12 Months |
Approximate Coverage
| Notched Trowel | Coverage (20 kg Bag) |
| 10 × 10 mm | 28–35 sq.ft. |
| 12 × 12 mm | 22–28 sq.ft. |
| 15 × 15 mm | 16–22 sq.ft. |
Coverage varies depending on slab size, substrate flatness, adhesive thickness, and installation method.
Mixing Instructions
- Add approximately 5.0–5.2 litres of clean water to one 20 kg bag.
- Mix using a slow-speed mechanical mixer until a smooth, lump-free consistency is achieved.
- Allow the mix to stand for 3–5 minutes, then remix briefly before use.
- Do not add water after the adhesive has started setting.
Application Procedure
Step 1 – Surface Preparation
Ensure the substrate is clean, structurally sound, level, cured, and free from dust, oil, grease, paint, curing compounds, or loose particles.
Step 2 – Mixing
Mix the adhesive according to the recommended water ratio until a smooth and homogeneous paste is achieved.
Step 3 – Adhesive Application
Apply the adhesive evenly using a suitable large-notch trowel.
Back-buttering is mandatory for porcelain slabs and natural stone to achieve maximum adhesive transfer.
Step 4 – Tile / Slab Installation
Carefully position the slab and press firmly using a sliding motion to eliminate air pockets. Use slab handling systems, suction lifters, levelling clips, and wedges where appropriate to ensure proper alignment and full support.
Step 5 – Finishing
Allow adequate curing before grouting or opening the installation to service loads.
Best Practices
✓ Back-butter every slab and natural stone panel.
✓ Achieve at least 95% adhesive coverage for interior floors and virtually full coverage for exterior or heavy-duty applications.
✓ Use slab lifting frames or suction cups for safe handling of large panels.
✓ Check substrate flatness before installation.
✓ Provide movement joints as recommended by project specifications and industry standards.
Avoid These Mistakes
✗ Installing heavy slabs without back-buttering.
✗ Using the adhesive on flexible substrates.
✗ Fixing stone over weak or uneven surfaces.
✗ Skipping movement joints.
✗ Walking on freshly installed slabs before adequate curing.
💡 Pro Tip
Large porcelain slabs and natural stone require almost complete adhesive contact to distribute their weight evenly. Always use back-buttering, a large-notch trowel, and a slab levelling system to minimize voids, reduce the risk of cracking, and achieve a durable, professional installation.